Welcome! This manual guides you through utilizing your Chef’sChoice 110. Discover how to effortlessly restore and maintain the razor-sharp edge of your valuable kitchen knives with ease.
This guide unlocks the full potential of your new sharpening system, ensuring optimal performance and longevity for all your blades.
What is the Chef’sChoice 110?
The Chef’sChoice 110 is a three-stage, pull-through knife sharpener designed for home kitchen use. It’s engineered to sharpen a wide variety of knives, restoring their edge to a remarkably keen state. Unlike traditional sharpening methods that require skill and practice, the 110 simplifies the process, making professional-quality sharpening accessible to everyone.
This model utilizes diamond abrasives – specifically, diamond stones – to remove metal and reshape the blade. It’s a manual sharpener, meaning it doesn’t require electricity, offering convenience and portability. The 110’s key strength lies in its ability to consistently deliver a sharp, durable edge with minimal effort. It’s a popular choice for those seeking a reliable and user-friendly solution to maintain their knife collection.
Essentially, the Chef’sChoice 110 is a compact, efficient tool that brings the benefits of professional knife sharpening directly into your kitchen, ensuring your knives are always ready for any culinary task.
Key Features and Benefits
The Chef’sChoice 110 boasts several key features. Its three-stage system – coarse, fine, and polishing – provides comprehensive sharpening. Diamond abrasives ensure fast and effective metal removal, while pre-set 15° and 20° angle guides simplify the process for consistent results. This eliminates guesswork and prevents damage to your blades.
Benefits include a remarkably sharp edge, improved knife performance, and increased safety in the kitchen. The 110 is suitable for a variety of knives, including stainless steel and high-carbon blades. Its compact design saves counter space, and the manual operation means no batteries or cords are needed.
Furthermore, the Chef’sChoice 110 extends the life of your knives by restoring their edge, reducing the need for frequent replacements. It’s a cost-effective solution for maintaining a high-quality knife collection, offering professional results with minimal effort and expertise.

Understanding the Components
Explore the 110’s design! It features diamond abrasives, precision angle guides (15°/20°), and three distinct stages for sharpening, honing, and polishing your knives.
Diamond Abrasives – Coarse vs. Fine
The heart of the Chef’sChoice 110 lies in its diamond abrasives. These aren’t simply any diamonds; they are specifically engineered to remove metal and reshape the knife’s edge. The sharpener utilizes two distinct types: coarse and fine, each serving a crucial role in the sharpening process.
Coarse diamond abrasives are responsible for the initial reshaping of a dull or damaged blade. They rapidly remove metal, effectively establishing a new edge angle. Think of it as the foundational step, correcting significant dullness or chips. This stage is more aggressive and noticeable in its action.
Fine diamond abrasives, conversely, refine and polish the edge created by the coarse stage. They remove microscopic amounts of metal, resulting in a remarkably sharp and smooth cutting surface. This stage isn’t about reshaping, but about perfecting the edge for optimal performance. The fine abrasives create a burr-free, razor-sharp finish.
Understanding this distinction is key to achieving professional-level results. The 110’s design seamlessly transitions between these abrasives, ensuring a consistently sharp and durable edge.
Angle Guides – 15° and 20°
Precision is paramount when sharpening, and the Chef’sChoice 110 delivers this through its adjustable angle guides. These guides ensure consistent contact between the blade and the diamond abrasives, vital for creating a uniform and effective edge.
The 110 offers two primary angle settings: 15° and 20°. A 15° angle is typically favored for Asian-style knives, known for their exceptional sharpness and delicate slicing capabilities. This sharper angle, however, can be more prone to chipping with heavier use.
A 20° angle is more commonly used for European and American-style knives. This angle provides a robust and durable edge, better suited for tasks like chopping and heavier kitchen work. It offers a balance between sharpness and resilience.
Selecting the correct angle is crucial. Refer to your knife manufacturer’s recommendations, or choose based on your typical knife usage. The 110’s easy-to-adjust guides simplify this process, guaranteeing accurate and repeatable results every time.
Stage 1: Coarse Sharpening
The first stage of sharpening with the Chef’sChoice 110 focuses on reshaping the blade’s edge. This is where the coarse diamond abrasives remove metal to correct dullness or damage, establishing a new bevel.
To begin, select the appropriate angle guide (15° or 20°) based on your knife type. Gently insert the blade into the first slot, ensuring the heel and tip make full contact with the diamond abrasives.
Apply light, consistent pressure and draw the blade through the slot, maintaining the selected angle. Repeat this motion 4-6 times per side. Avoid excessive force, allowing the abrasives to do the work.
It’s crucial to use a smooth, controlled motion. You’ll notice metal filings accumulating – this is normal and indicates the sharpening process is working. This stage prepares the blade for the subsequent honing and polishing stages;
Stage 2: Fine Honing
Following coarse sharpening, the second stage utilizes fine diamond abrasives to refine the blade’s edge. This process removes microscopic burrs created during Stage 1 and begins to create a truly sharp, clean edge.
Continue using the same angle guide selected in Stage 1; Insert the blade into the second slot, again ensuring full contact between the heel, tip, and diamond abrasives.
Employ light to moderate pressure and draw the blade through the slot, mirroring the motion from the previous stage. Repeat this 4-6 times per side. The resistance will feel noticeably lighter than in Stage 1.
This stage is about precision, not force. Focus on maintaining the angle and a consistent rhythm. Fine honing dramatically improves sharpness and prepares the blade for the final polishing stage, resulting in a professional-quality edge.
Stage 3: Polishing/Stropping
The final stage employs a specialized polishing/stropping material to achieve maximum sharpness and a refined edge. This stage isn’t about removing metal, but rather aligning the microscopic teeth created during honing, resulting in a smoother, more durable edge.
Utilize the same angle guide as Stages 1 and 2. Gently draw the blade through the third slot, applying very light pressure. This stage requires finesse; avoid forcing the blade.
Repeat this process 4-6 times per side. You’ll notice minimal resistance. The polishing material subtly refines the edge, enhancing its cutting performance and longevity.
This stage is crucial for achieving a truly professional-grade sharpness. It eliminates any remaining micro-burrs and creates a polished, razor-sharp edge ready for any culinary task. Your knife is now optimally prepared!
Preparing to Sharpen Your Knives
Before you begin, identify your knife type and assess its condition. Ensure compatibility with the Chef’sChoice 110 to achieve optimal sharpening results safely.
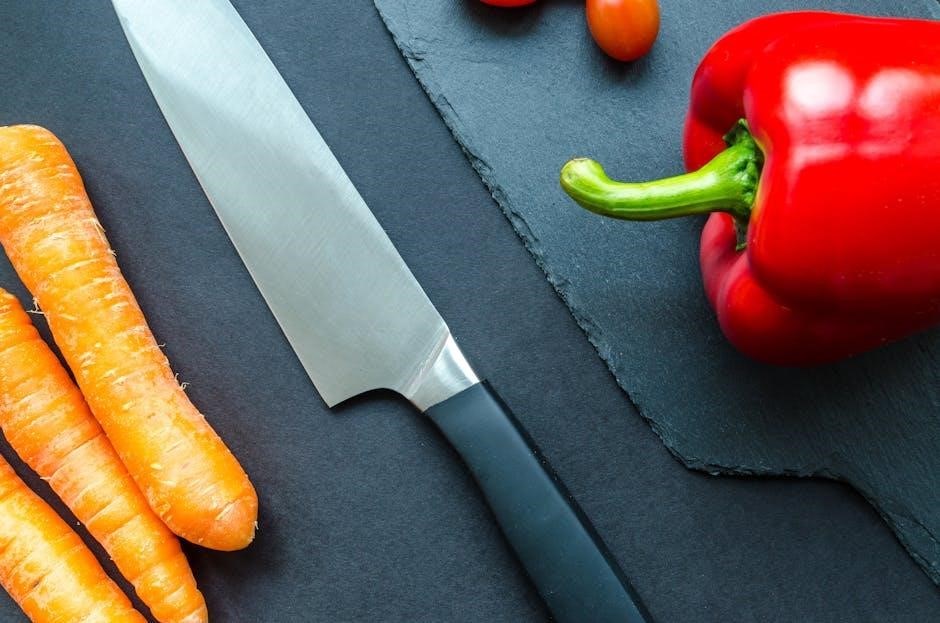
Knife Types Suitable for the 110
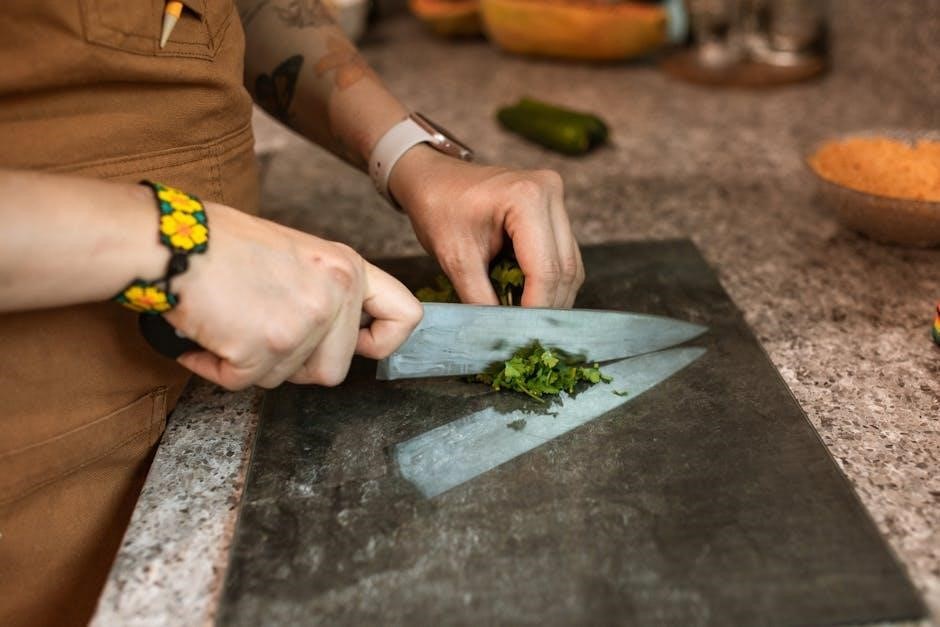
The Chef’sChoice 110 excels at sharpening a wide variety of knives commonly found in a kitchen setting. This includes most high-carbon stainless steel and stainless steel knives. Straight-edge knives are ideally suited for this sharpener, delivering consistently excellent results.
Specifically, it works wonderfully on chef’s knives, paring knives, utility knives, and even boning knives. Serrated or notched blades, however, are not designed for use with this particular model. The 110 is particularly effective on knives with a Rockwell hardness of up to 68 HRC.
It’s important to note that the 110 is designed for standard kitchen knives; specialized blades like ceramic knives or very thick, heavy-duty cleavers are not recommended. Always check your knife’s steel type if you are unsure of its compatibility before attempting to sharpen it.
Knives NOT Recommended for the 110
Certain knife types are not compatible with the Chef’sChoice 110 and attempting to sharpen them could damage both the knife and the sharpener; Primarily, serrated knives – those with a scalloped edge – should never be used with this model. The diamond abrasives are designed for straight edges and will likely ruin the serrations.
Furthermore, ceramic knives are too brittle for the 110’s sharpening process and risk chipping or breaking. Knives with a Rockwell hardness exceeding 68 HRC are also not recommended, as the abrasives may not effectively engage the extremely hard steel.
Avoid using the sharpener on very thick or heavy cleavers, as they may not fit properly within the angle guides. Finally, do not attempt to sharpen any damaged or heavily corroded blades; address these issues before sharpening.
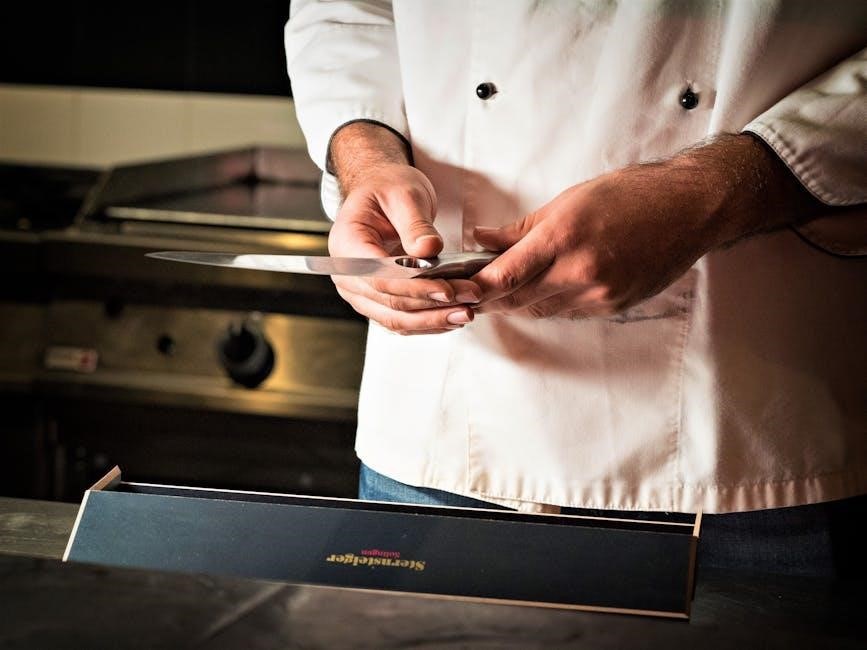
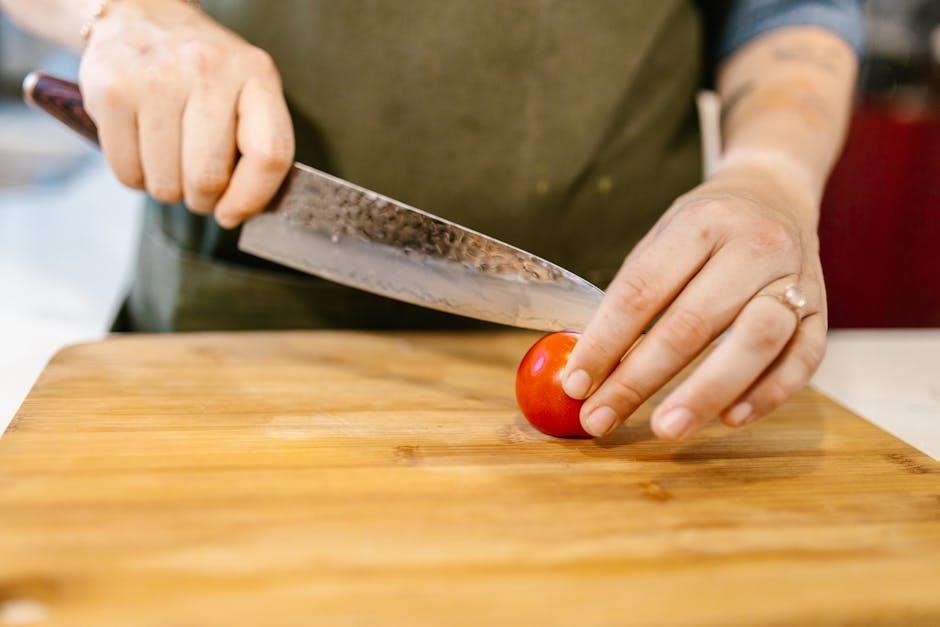
Assessing Your Knife’s Condition
Before sharpening, carefully evaluate your knife’s current state. A simple paper test can reveal a lot: try slicing through a piece of paper – a sharp knife will cut cleanly, while a dull one will tear. Visually inspect the blade for chips, rolls, or significant wear along the cutting edge. These imperfections require attention before using the Chef’sChoice 110.
Determine the existing angle of the blade. While the 110 offers 15° and 20° settings, matching the original angle is ideal. If unsure, start with the 20° setting, commonly used for most kitchen knives.
Consider the level of dullness. A slightly dull knife may only need Stage 2 (honing), while a very dull or damaged knife will require all three stages for complete restoration.
Step-by-Step Sharpening Instructions
Follow these steps to achieve a professional-level sharpness. Begin with Stage 1, progressing through Stages 2 and 3 for optimal results and a polished edge.
Stage 1: Coarse Sharpening – Detailed Procedure
Begin with coarse sharpening to reshape a dull or damaged blade. Ensure the Chef’sChoice 110 is placed on a stable surface. Select the appropriate slot – 15° for Western knives and 20° for Asian knives.
Hold the knife firmly by the handle, maintaining a slight downward pressure. Draw the blade through the slot from heel to tip, using a smooth, consistent motion. Repeat this process 4-6 times on each side of the blade.
It’s crucial to maintain the correct angle throughout each pass. Avoid forcing the blade; let the sharpener do the work. Listen for a consistent sound as the blade engages with the diamond abrasives. This stage removes metal to establish a new edge.
Important: Do not use excessive force, and always sharpen the entire length of the blade. After several passes, check the blade for signs of improvement before proceeding to Stage 2.
Stage 2: Fine Honing – Detailed Procedure
Transition to fine honing after completing Stage 1. This refines the edge created during coarse sharpening, removing burrs and creating a sharper, more polished surface. Use the same angle selection (15° or 20°) as in Stage 1.
Again, hold the knife firmly and draw it through the designated slot, heel to tip, with moderate, consistent pressure. Repeat this process 4-6 times per side. The sound will be noticeably different – smoother and quieter – indicating finer abrasion.
Focus on maintaining a consistent angle and smooth motion. This stage is about refinement, not material removal. Inspect the blade frequently to assess the progress of the honing process.
Remember: Gentle pressure is key. Avoid forcing the blade. This stage prepares the edge for the final polishing step, maximizing sharpness and durability.
Stage 3: Polishing/Stropping – Detailed Procedure
Finalize the sharpening process with Stage 3, polishing and stropping. This stage elevates the edge to its peak sharpness, removing any remaining microscopic burrs and creating a mirror-like finish. Maintain the previously selected angle (15° or 20°).
Draw the knife through the final slot, using very light pressure, heel to tip. Repeat this motion 4-6 times per side. The action should be incredibly smooth and almost silent. This isn’t about removing metal, but aligning the microscopic teeth of the blade.
Important: Minimal pressure is crucial here. Excessive force can actually dull the edge. Inspect the blade carefully; you should notice a refined, gleaming edge.
This final step enhances the edge’s longevity and slicing performance, resulting in a truly professional-quality sharpness. Your knife is now ready for use!
Maintaining Your Chef’sChoice 110
Keep your sharpener performing optimally through regular cleaning and timely abrasive replacements. This ensures consistent, reliable sharpening for years to come.
Proper maintenance extends the life of your unit and preserves the quality of your knife edges.
Cleaning the Sharpener
Regular cleaning is crucial for maintaining the performance and longevity of your Chef’sChoice 110. After each use, or at least weekly with frequent sharpening, unplug the unit and allow it to cool completely. Never immerse the sharpener in water or any other liquid.
Use a soft, slightly damp cloth to wipe down the exterior of the unit, removing any metal filings or debris. Pay particular attention to the slot openings where filings accumulate. A small brush, like a toothbrush, can be helpful for dislodging stubborn particles.
For the diamond abrasives themselves, avoid using abrasive cleaners or scouring pads, as these can damage the diamond surface. Simply wipe them gently with a damp cloth. Ensure the unit is completely dry before storing or using it again. Proper cleaning prevents buildup that can affect sharpening accuracy and efficiency, keeping your knives consistently sharp.
Consistent care equals consistent results!
Replacing Diamond Abrasives
Over time, the diamond abrasives in your Chef’sChoice 110 will wear down with use, diminishing sharpening performance. Replacement is straightforward, ensuring continued optimal results. First, always unplug the unit before attempting any maintenance. Locate the retaining screws securing the diamond abrasives – these are typically on the sides of each stage.
Using a screwdriver, carefully remove the screws and lift out the old abrasive. Align the new abrasive, ensuring it sits flush within the stage. Reinstall the screws, tightening them securely but not over-tightening. Chef’sChoice recommends using only genuine replacement abrasives for consistent quality and fit.
Replacement frequency depends on usage; heavy use requires more frequent changes. Signs it’s time to replace include noticeably longer sharpening times or a less refined edge. Maintaining fresh abrasives guarantees your knives remain exceptionally sharp.
Genuine parts ensure peak performance!
Diamond Abrasive Lifespan
The lifespan of your Chef’sChoice 110’s diamond abrasives varies significantly based on usage frequency and the condition of the knives being sharpened. Sharpening very dull or damaged blades will naturally wear them down faster. Generally, the coarse stage abrasives will wear out before the fine or polishing stages.
As a guideline, a home cook sharpening knives a few times a month can expect coarse abrasives to last approximately one to two years. Frequent professional use or sharpening extremely hard steel may reduce this to several months. Monitor sharpening times; if it takes considerably longer to achieve the same results, it’s time for replacement.
Regular cleaning (see maintenance section) can help prolong abrasive life by removing metal particles. Remember, maintaining sharp abrasives is crucial for achieving consistently sharp knives. Don’t wait for complete wear-out – proactive replacement ensures optimal performance.
Consistent sharpness relies on quality abrasives!
Troubleshooting Common Issues
Encountering problems? This section addresses frequent concerns like ineffective sharpening, uneven edges, or blade scratches. We’ll provide solutions to restore peak performance quickly.
Resolve issues and keep your knives razor-sharp with our easy-to-follow troubleshooting guidance.
Knife Not Sharpening
Problem: If your knife isn’t sharpening effectively with the Chef’sChoice 110, several factors could be at play. First, ensure the diamond abrasives are properly seated and not worn down excessively. Check for any debris lodged within the sharpening stages, as this can impede the process.
Solution: Begin by cleaning the sharpener thoroughly, removing any metal filings or residue. Next, verify you’re applying consistent, gentle pressure and drawing the blade through each stage with a smooth, controlled motion. Avoid forcing the knife; let the abrasives do the work.
Important: Confirm you’re using the correct sharpening angle (15° or 20°) for your knife type. Incorrect angles will prevent a sharp edge from forming. If the issue persists, consider replacing the diamond abrasives, especially if they appear dull or damaged. Finally, double-check that the knife blade is making full contact with the diamond wheels during each pass.
Tip: For extremely dull knives, you may need to repeat the coarse sharpening stage (Stage 1) several times before proceeding to the finer stages.
Uneven Sharpening
Problem: Experiencing uneven sharpening with your Chef’sChoice 110 often indicates inconsistent technique. One side of the blade may be sharper than the other, resulting in a less-than-ideal cutting performance. This is a common issue, but easily addressed with attention to detail.
Solution: The key is maintaining a consistent angle throughout each stroke. Ensure you’re drawing the knife through each stage with equal pressure and speed on both sides. Count your strokes – use the same number of passes on each side of the blade for every stage.
Important: Pay close attention to how you’re holding the knife. A slight tilt or wobble can cause uneven sharpening. Practice maintaining a firm, stable grip and a consistent vertical alignment. If unevenness persists, try slowing down your sharpening speed and focusing on precise movements.
Tip: Regularly inspect the blade’s edge during the process to identify any areas that require additional attention.
Scratches on the Blade
Concern: Noticing scratches appearing on your knife blade while using the Chef’sChoice 110 is understandable, but often not detrimental; The diamond abrasives are designed to remove material, and some surface marking is normal, especially on softer steel blades.
Explanation: These scratches are typically very fine and don’t affect the knife’s performance. However, excessive scratching could indicate applying too much pressure or using a contaminated sharpening stage.
Prevention: Avoid excessive force when drawing the knife through the slots. Let the sharpener do the work. Regularly clean the diamond abrasives with a soft brush to remove metal filings and debris. Using a light lubricating oil (specifically designed for knife sharpening) can also minimize friction and scratching.
Safety Precautions
Always handle knives with extreme care. Never place hands in the path of the blade during sharpening. Ensure a stable surface for operation.
Disconnect the sharpener when cleaning. Keep out of reach of children. Read all instructions before use.
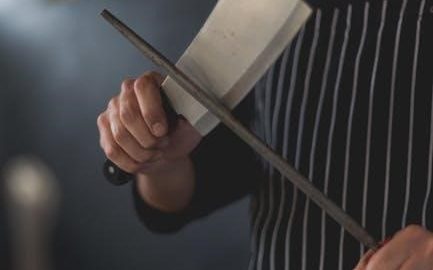
Handling Sharp Knives
Sharp knives are essential for efficient and safe food preparation, but they demand respect and careful handling. Before even thinking about sharpening, understand the inherent risks. Always maintain a firm grip on the knife handle, keeping your fingers positioned safely behind the blade’s edge. Never attempt to catch a falling knife; let it drop and move your feet out of the way.
When presenting the blade to the Chef’sChoice 110, use a slow and deliberate motion. Avoid rushing, as this increases the chance of slips. Focus intently on the task at hand, minimizing distractions. Remember that even a slightly dull knife is still sharp enough to cause injury.
After sharpening, test the blade’s sharpness with caution – a simple paper test is recommended. Never run your finger along the blade’s edge to check sharpness. Store knives securely in a block, sheath, or drawer with blade guards to prevent accidental cuts. Prioritize safety at every stage!
Proper Usage of the Sharpener
The Chef’sChoice 110 is designed for simplicity, but correct usage is crucial for optimal results and longevity of both your knives and the sharpener. Ensure the unit is placed on a stable, non-slip surface before beginning. Always use light, consistent pressure when drawing the blade through each stage – let the diamond abrasives do the work, don’t force it.
Maintain the recommended angles (15° or 20°) as indicated by the guides. A consistent angle is key to achieving a uniform, sharp edge. Draw the blade heel to tip, maintaining contact with the diamond abrasives throughout the entire stroke. Avoid twisting or rocking the knife during the process.
Follow the three-stage process sequentially: coarse, fine, and polishing; Clean the sharpener after each use to remove metal filings. Never disassemble the unit for cleaning or maintenance beyond wiping the exterior.